Dropping Updates Files into eClaims Folder
- Download the update. Click here to download ‘Release 29/12/2021 version 2.02.20’
- Log into the eClaims server, if possible
- Navigate to eclaims directory ie. C:\eclmpluswin or \\server\eclmpluswin
- Open eclmpluswin\updates folder
- Delete any files within this folder
- Copy the files within the zip file updates.zip into the updates folder (do not just drop the zip within the updates folder)
- Now within the updates folder, you will see a folder called utils, open this folder, then open the updmbs folder
- Copy the files within the zip file updmbs.zip into the eclmpluswin\utils\updmbs folder (do not just drop the zip within the eclmpluswin\utils\updmbs folder)
- If files with the same name exist, just replace them with these new files
- Now within the eclmpluswin\updates folder, you will see a folder called utils, open this folder, and you will find a zip file called utilsdbfs.zip
- Copy the files within the zip file utilsdbfs.zip into the eclmpluswin\utils folder (do not just drop the zip within the eclmpluswin\utils folder)
- If files with the same name exist, just replace them with these new files
- eClaims will naturally update itself tmrw morning, when the first person logs in, unless you have a scheduled task to run earlier. If you wish to force the update now – make sure everyone is out of eClaims and follow the next section.
Forcing the Update
- Once you ensure everyone has logged out of eClaims
- Log into eclaims
- Run eClaims as an Administrator (by right clicking the eClaims icon)
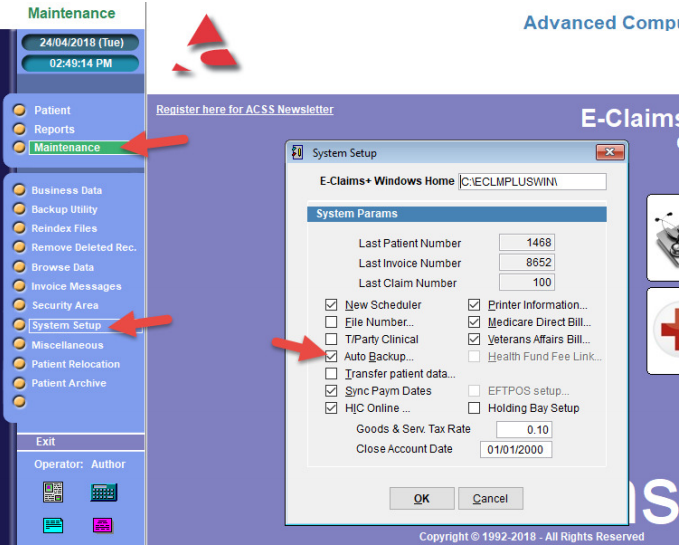
- Go to Maintenance Menu

- Click on System Setup
- it will ask you for a password, try: admin
- Click on the tickbox Auto Backup
- Then un-tick > Enable Auto Backup
- Click OK
- Click back into Auto Backup again
- Now tick > Enable Auto Backup
- Click OK
- Exit out of eClaims
- Log back into eClaims, run eClaims as an Administrator (by right clicking the eClaims icon)
- You will notice eClaims run through a process of a backup, reindex and then the update
- Once completed successfully, it will come up with a pop up windows ‘eClaims Server updated successfully’.
- That’s it!